Hi friends,
We recently held a children’s party. We invited little girls and big girls, and little and big boys, and we wanted to serve a generous portion so there would be something for everyone.
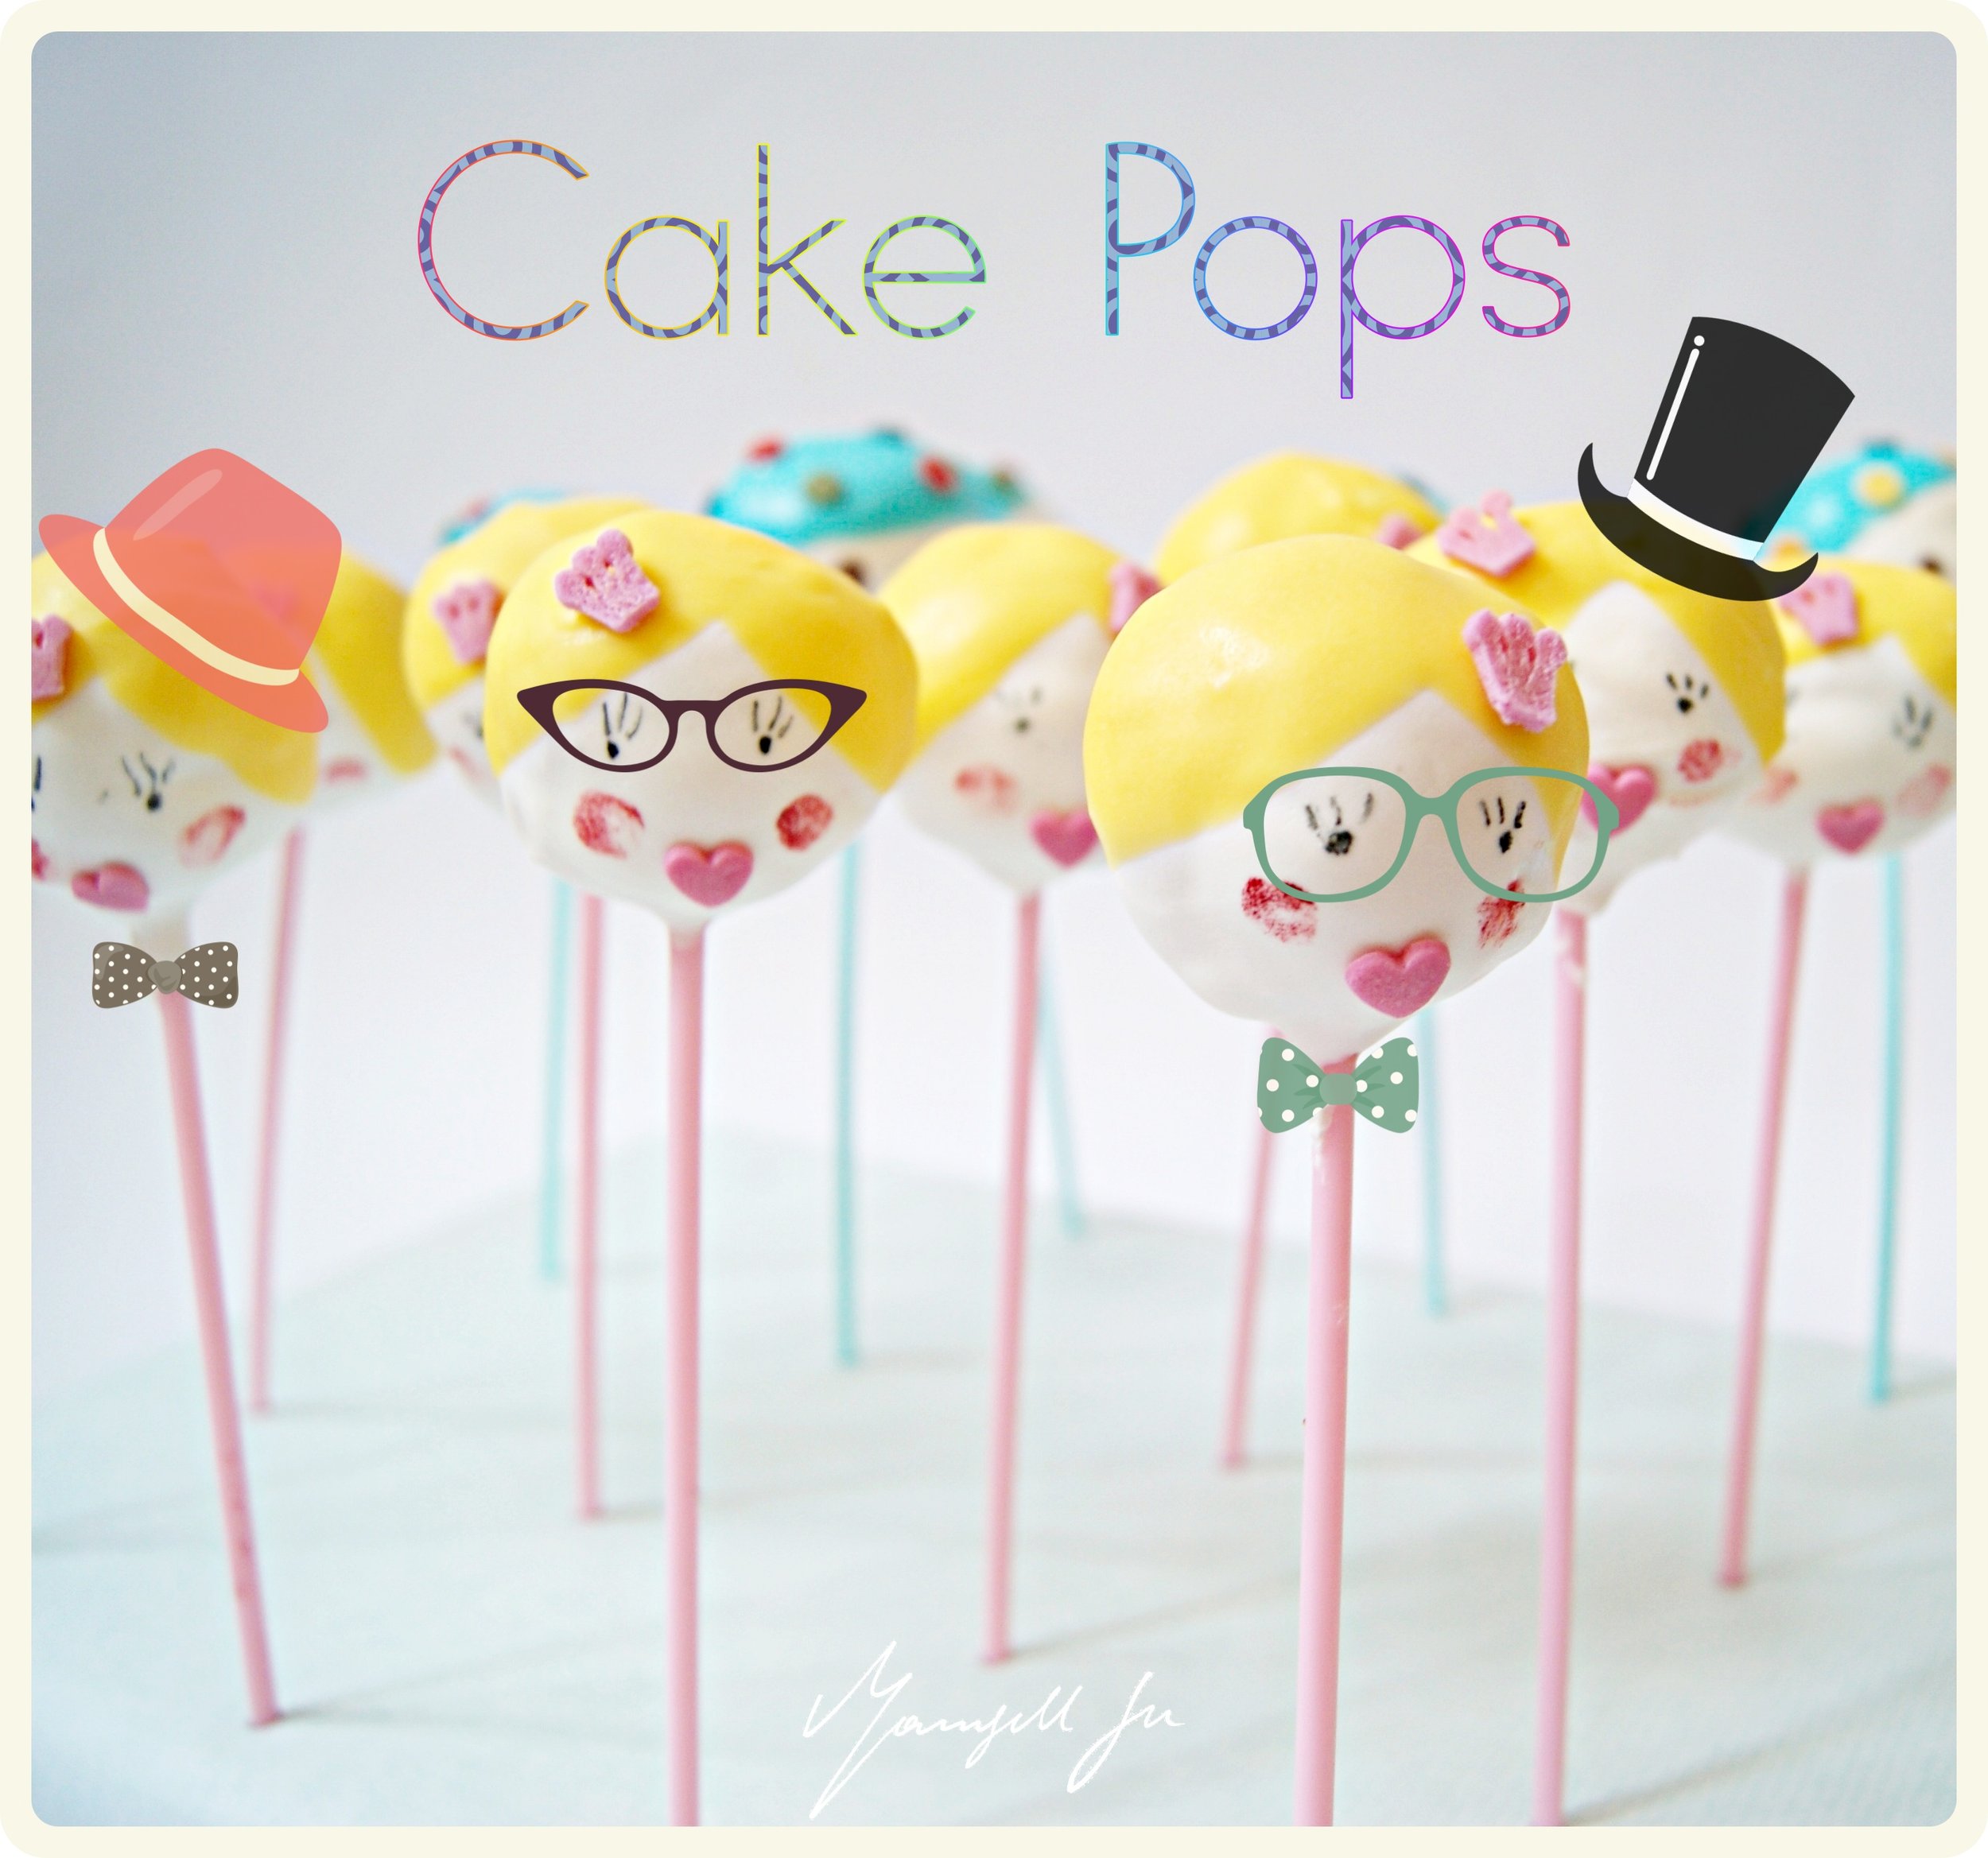
Cake pops were a must, as I’ve found that everyone loves them. The older guests, in particular, have always been remarkably enthusiastic. These little things exude a great fascination, and it’s always a special experience to bite into them.
But why is that so?
It may not be worth asking for most people, but it bothered me. I obviously have nothing better to do, so I came up with my own cake pop theory:
Why do cake pops make you happy?
Maybe it’s the combination of lollipop and cake. Cake pops look like lollipops, but they’re actually cake balls on a stick. Colorfully decorated, any cake looks incredibly sweet.
But I don’t think it’s that simple, because then we adults would rejoice at anything small and colorful. While some people do, I suspect that a cake pop evokes even deeper emotions in us, and that’s because of the batter, or rather, the consistency of the batter.
Hopefully, we all know this feeling. As a child, you always loved snacking on raw cookie dough. For me, it was the best part of baking. So soft! And at the same time, the granulated sugar crackled between your teeth, so sweet and so special, because you were only allowed to steal a tiny bit.
“Don’t eat too much of it, or you’ll get a stomachache!” was a typical response. I’ve never gotten a stomachache from eating dough, though, so deep down I’m still convinced that this claim is just as bogus as the claim that your face gets stuck when you make a face. It’s just never happened to me either.
But back to the topic. I always found raw dough much more delicious than pre-baked cookies. I remember my mother making a whole tub of gingerbread dough as a child, just like she did every year before Christmas. Gingerbread dough was supposed to stay in the fridge overnight, and that proved to be its downfall every year, because we kids would sneak to the fridge and cut ourselves a little piece. Even at night, I would stumble over to the fridge again and again. I swear, this cookie dough is simply addictive.
The next day, the dough had shrunk considerably, and to no one’s surprise, each of us had a hand in it. Even my mom was never mad at us. I actually think she expected it, so she made a little extra, and she probably snacked on it herself. I just want to point out that a butter knife was always kept ready for use in the bowl under the aluminum foil. This knife was wisely left there, too. At the time, no one was thinking about salmonella, bacteria, or other nasty culprits in the dough.
In the 1990s, salmonella became a big issue, and we were insistently told that we could all die from eating raw eggs. Nowadays, the danger has been contained, and a small lick of the batter is allowed, but it’s strongly recommended not to eat raw batter, as not only the eggs but also the flour could contain bacteria that are best avoided.
The carefree childhood joy of shoving raw cookie dough into our mouths is etched in our memories. Deep inside, where our inner child still resides. Since the consistency and taste of cake pop dough strongly resembles raw cookie dough, my assumption arose:
One bite and we’re transported back to our childhood. The inner child within us is awakened. We’re standing in Mom’s kitchen again, warmly smelling of baked cookies. It feels cozy and safe, and it’s so much fun to help cut out cookies. Mom smiles lovingly and holds out a piece of dough: “Here. Try it, see if you like it.”
The flavor explodes in your mouth. Colors, smells, and tastes – a true blend of the finest delicacies. You know, like Remy, the mouse from Ratatouille.
Decades later, you grab a colorful ball on a stick and bite into it. Without warning, you suddenly feel that familiar, comforting explosion in your mouth, and a wonderful warmth spreads throughout your body.
I’m telling you, this all sounds a bit exaggerated, but that’s my cake pop theory, and I wanted to explain it to you as clearly as possible. Because even if those childhood feelings of happiness don’t necessarily surface so clearly when eating a cake pop, no other baked good I’ve ever served has ever given me such an enthusiastic response from young and old.
So, since I wanted to know if raw cookie dough only has this effect in my family or if it actually affects others as well, I googled it, and lo and behold! Several recipes for edible cookie dough popped up in my search. Which, of course, absolutely confirms my theory! Obviously, many other people love raw cookie dough just as much, and there’s a reason for that.
CONCLUSION: Cake pops taste like childhood, are adorable, and served on a stick wrapped in colorful chocolate. Something like that makes you happy.
So why do cake pops taste like raw cookie dough? It’s because of this one wonderful ingredient! Cake pops are made from crumbled cake batter mixed with some kind of – well, let’s say – moisture / cream / sauce. This can be milk, water, cream cheese, mousse, curd cheese, chocolate sauce, buttercream, jam, a chocolate-cream mixture, etc. It makes the dough sticky, easy to shape, and, as if by magic, suddenly tastes like raw cookie dough.
I definitely prefer the cream cheese version because I simply like it the best.
As I said, you can make cake pops from any ready-baked cake, but for the sake of completeness, I have a basic recipe for you here.
Basic cake pop recipe
For 24 cake pops:
140 g soft butter
140 g sugar
2 eggs
150 g flour
1/4 tsp baking powder
1 pinch of salt
80 g cream cheese
80 g sifted icing sugar
1. Preheat the oven to 160 °C top and bottom heat.
2. Place baking paper in a bread pan and trim off any excess. The baking paper should extend at least to the edge of the pan.
Don’t be surprised. The shape of the cake doesn’t matter when it comes to cake pops, and the baking paper keeps it from sticking, making it easy to remove the finished cake.
3. Beat the butter and sugar until fluffy.
4. Add one egg at a time and mix well.
5. Mix the flour with the baking powder and salt with a whisk and gradually stir into the egg, butter and sugar mixture.
6. Pour the batter into the baking pan and bake for about 20 minutes.
7. Remove the cake from the oven and let it cool in the baking pan for about 30 minutes. Then remove the cake from the pan and let it cool completely.
8. Mix the cream cheese and powdered sugar.
9. Trim the hard edges of the cake and crumble the cake into a bowl.
10. Add the cream cheese and powdered sugar mixture to the breadcrumbs and mix well with your hands. The dough should now hold together when pressed together with your hands.
11. Chill the dough in the refrigerator for about 30 – 45 minutes.
12. Then remove the dough from the refrigerator and form into balls weighing no more than 30g. Chill the balls in the freezer for at least 15 minutes or in the refrigerator for about 1 hour.
Unfortunately, I didn’t take any photos for the instructions – I forgot about that while I was busy preparing for the party. The instructions for the princesses and pirates are therefore not illustrated, but hopefully they’ll still be understandable. You probably won’t even need instructions for them. The princesses and pirates are meant to serve as inspiration, as you have complete creative freedom.
You can vary the colors and sugar decorations freely. You can change the faces. For example, the princesses could have brown hair, or the pirates could have red scarves with sugar stars, and so on… It all depends on your mood.
Besides, girls don’t necessarily want princesses, and boys don’t necessarily want pirates. I have no idea why I fell into this stereotypical mindset when making the cake pops. I only noticed it when I saw what kind of cake pops the kids were choosing.

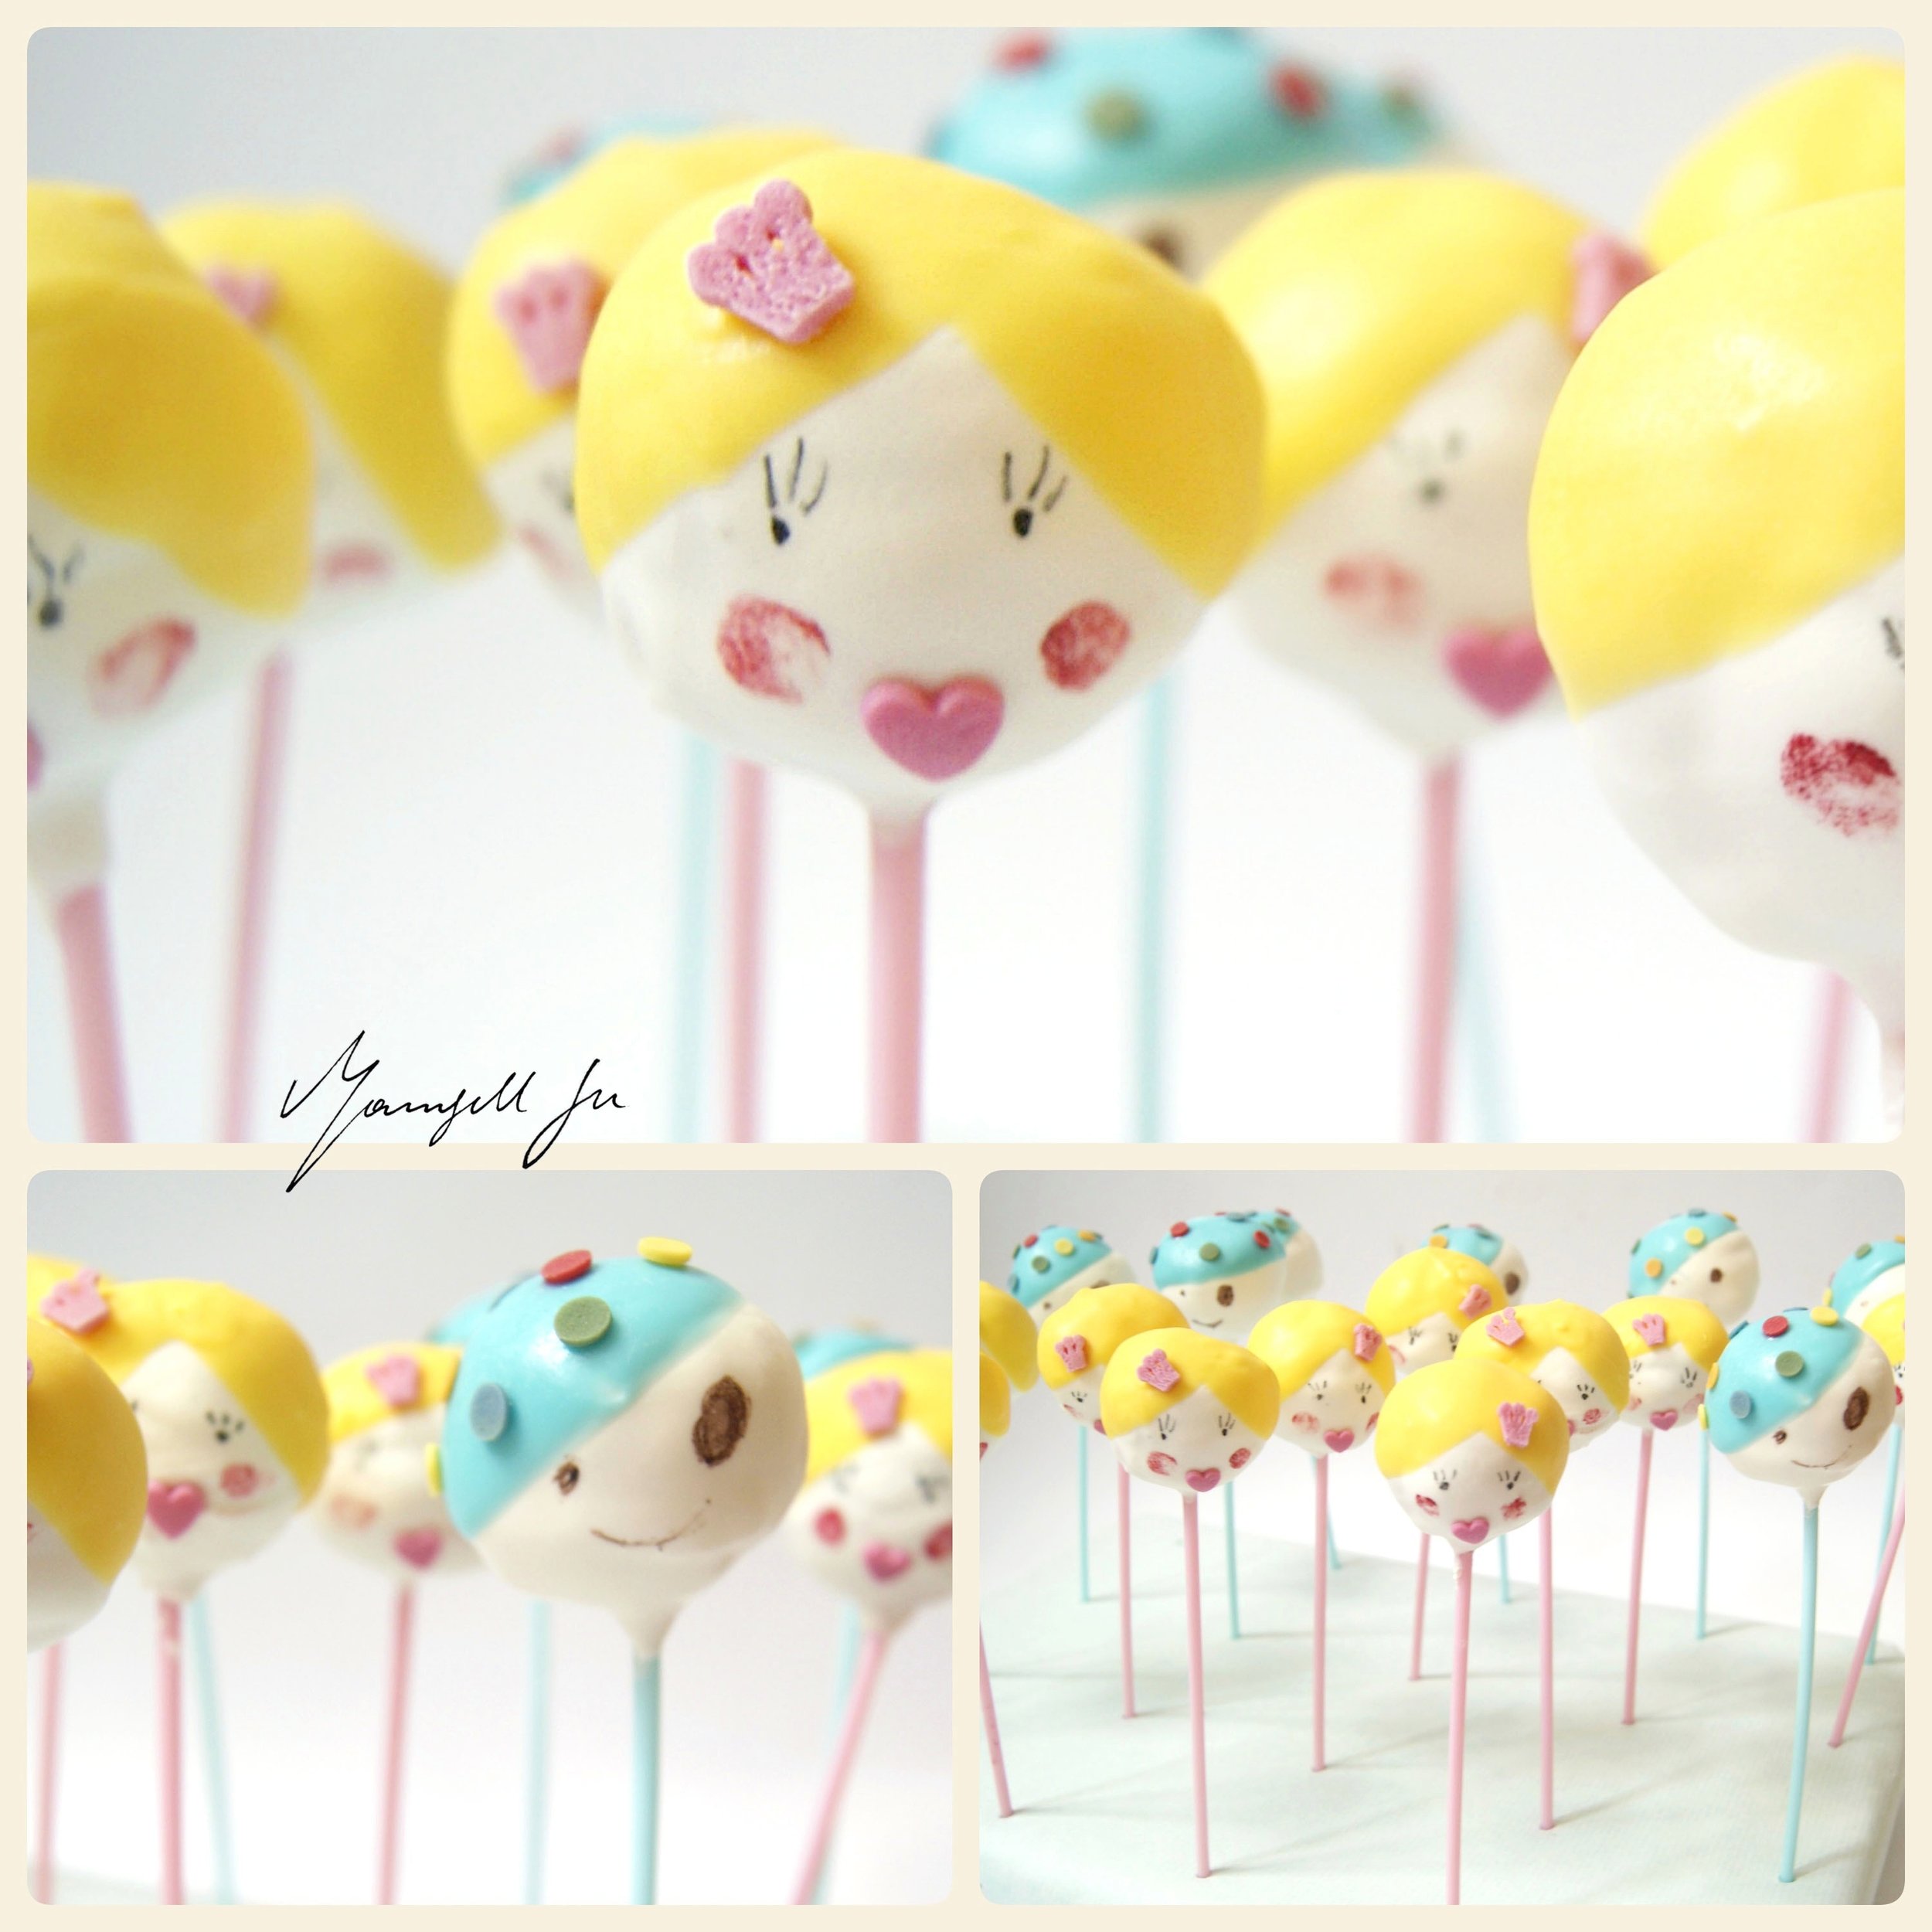
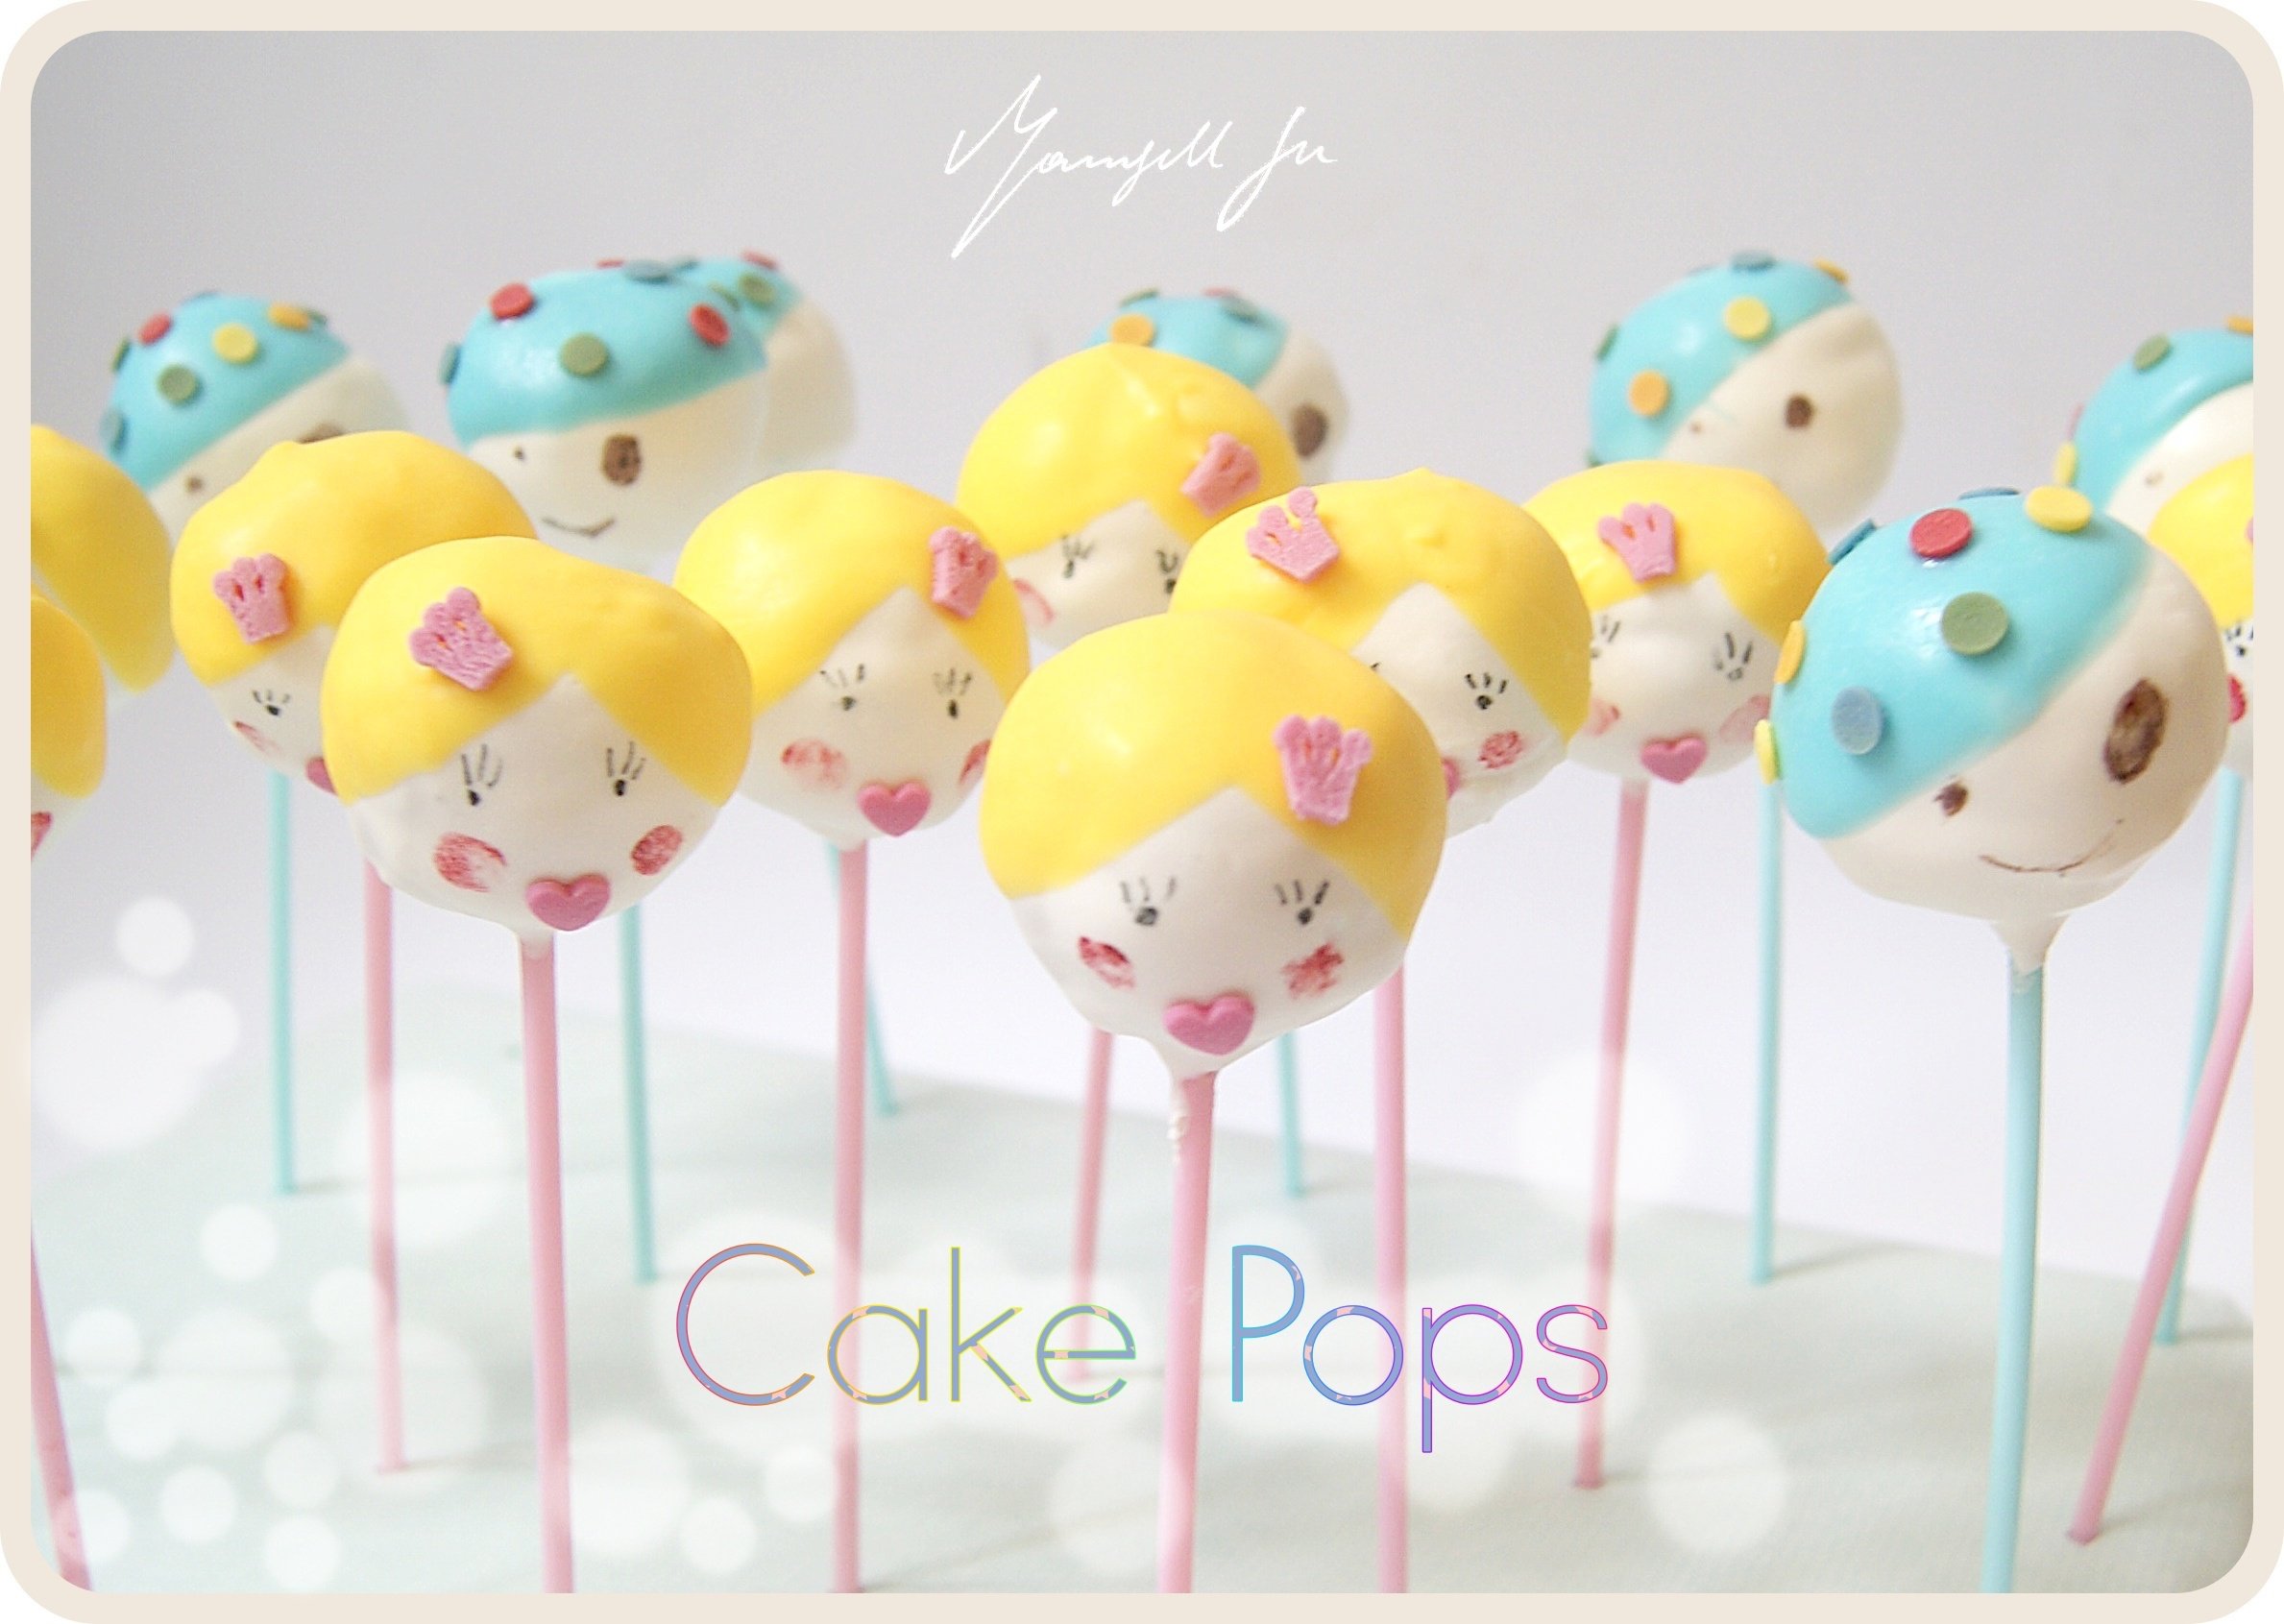
Princess and Pirate Cake Pops
For both:
White candy melts
Coconut fat
Lollipop sticks
ready-rolled dough balls (chilled)
If you want to cover cake pops with candy melts, it’s best to add a little coconut oil. This will thin the mixture even more and make it easier to drip off. About 25 g of coconut oil per 1 coffee cup full of candy melts. This will create a thin and even coating.
- Melt the white candy melts with the coconut oil in the microwave or over a pan of water, stirring thoroughly every now and then. It’s best to follow the instructions on the package. It shouldn’t get too hot. If it’s not runny enough, you can add a little coconut oil. But be careful, it shouldn’t be too runny, or it’ll all run down 🙁
- Dip the lollipop sticks 1-1.5 cm deep into the balls and insert them into the mixture. Chill in the refrigerator for another 15-20 minutes.
- Then, take the cooled cake pops by the stem and dip them completely into the melted candy melts. Let the tops drain well, rotating them evenly. Once the liquid has drained, place the cake pops in a cake pop stand or a thick Styrofoam plate to dry, and then chill them in the refrigerator.


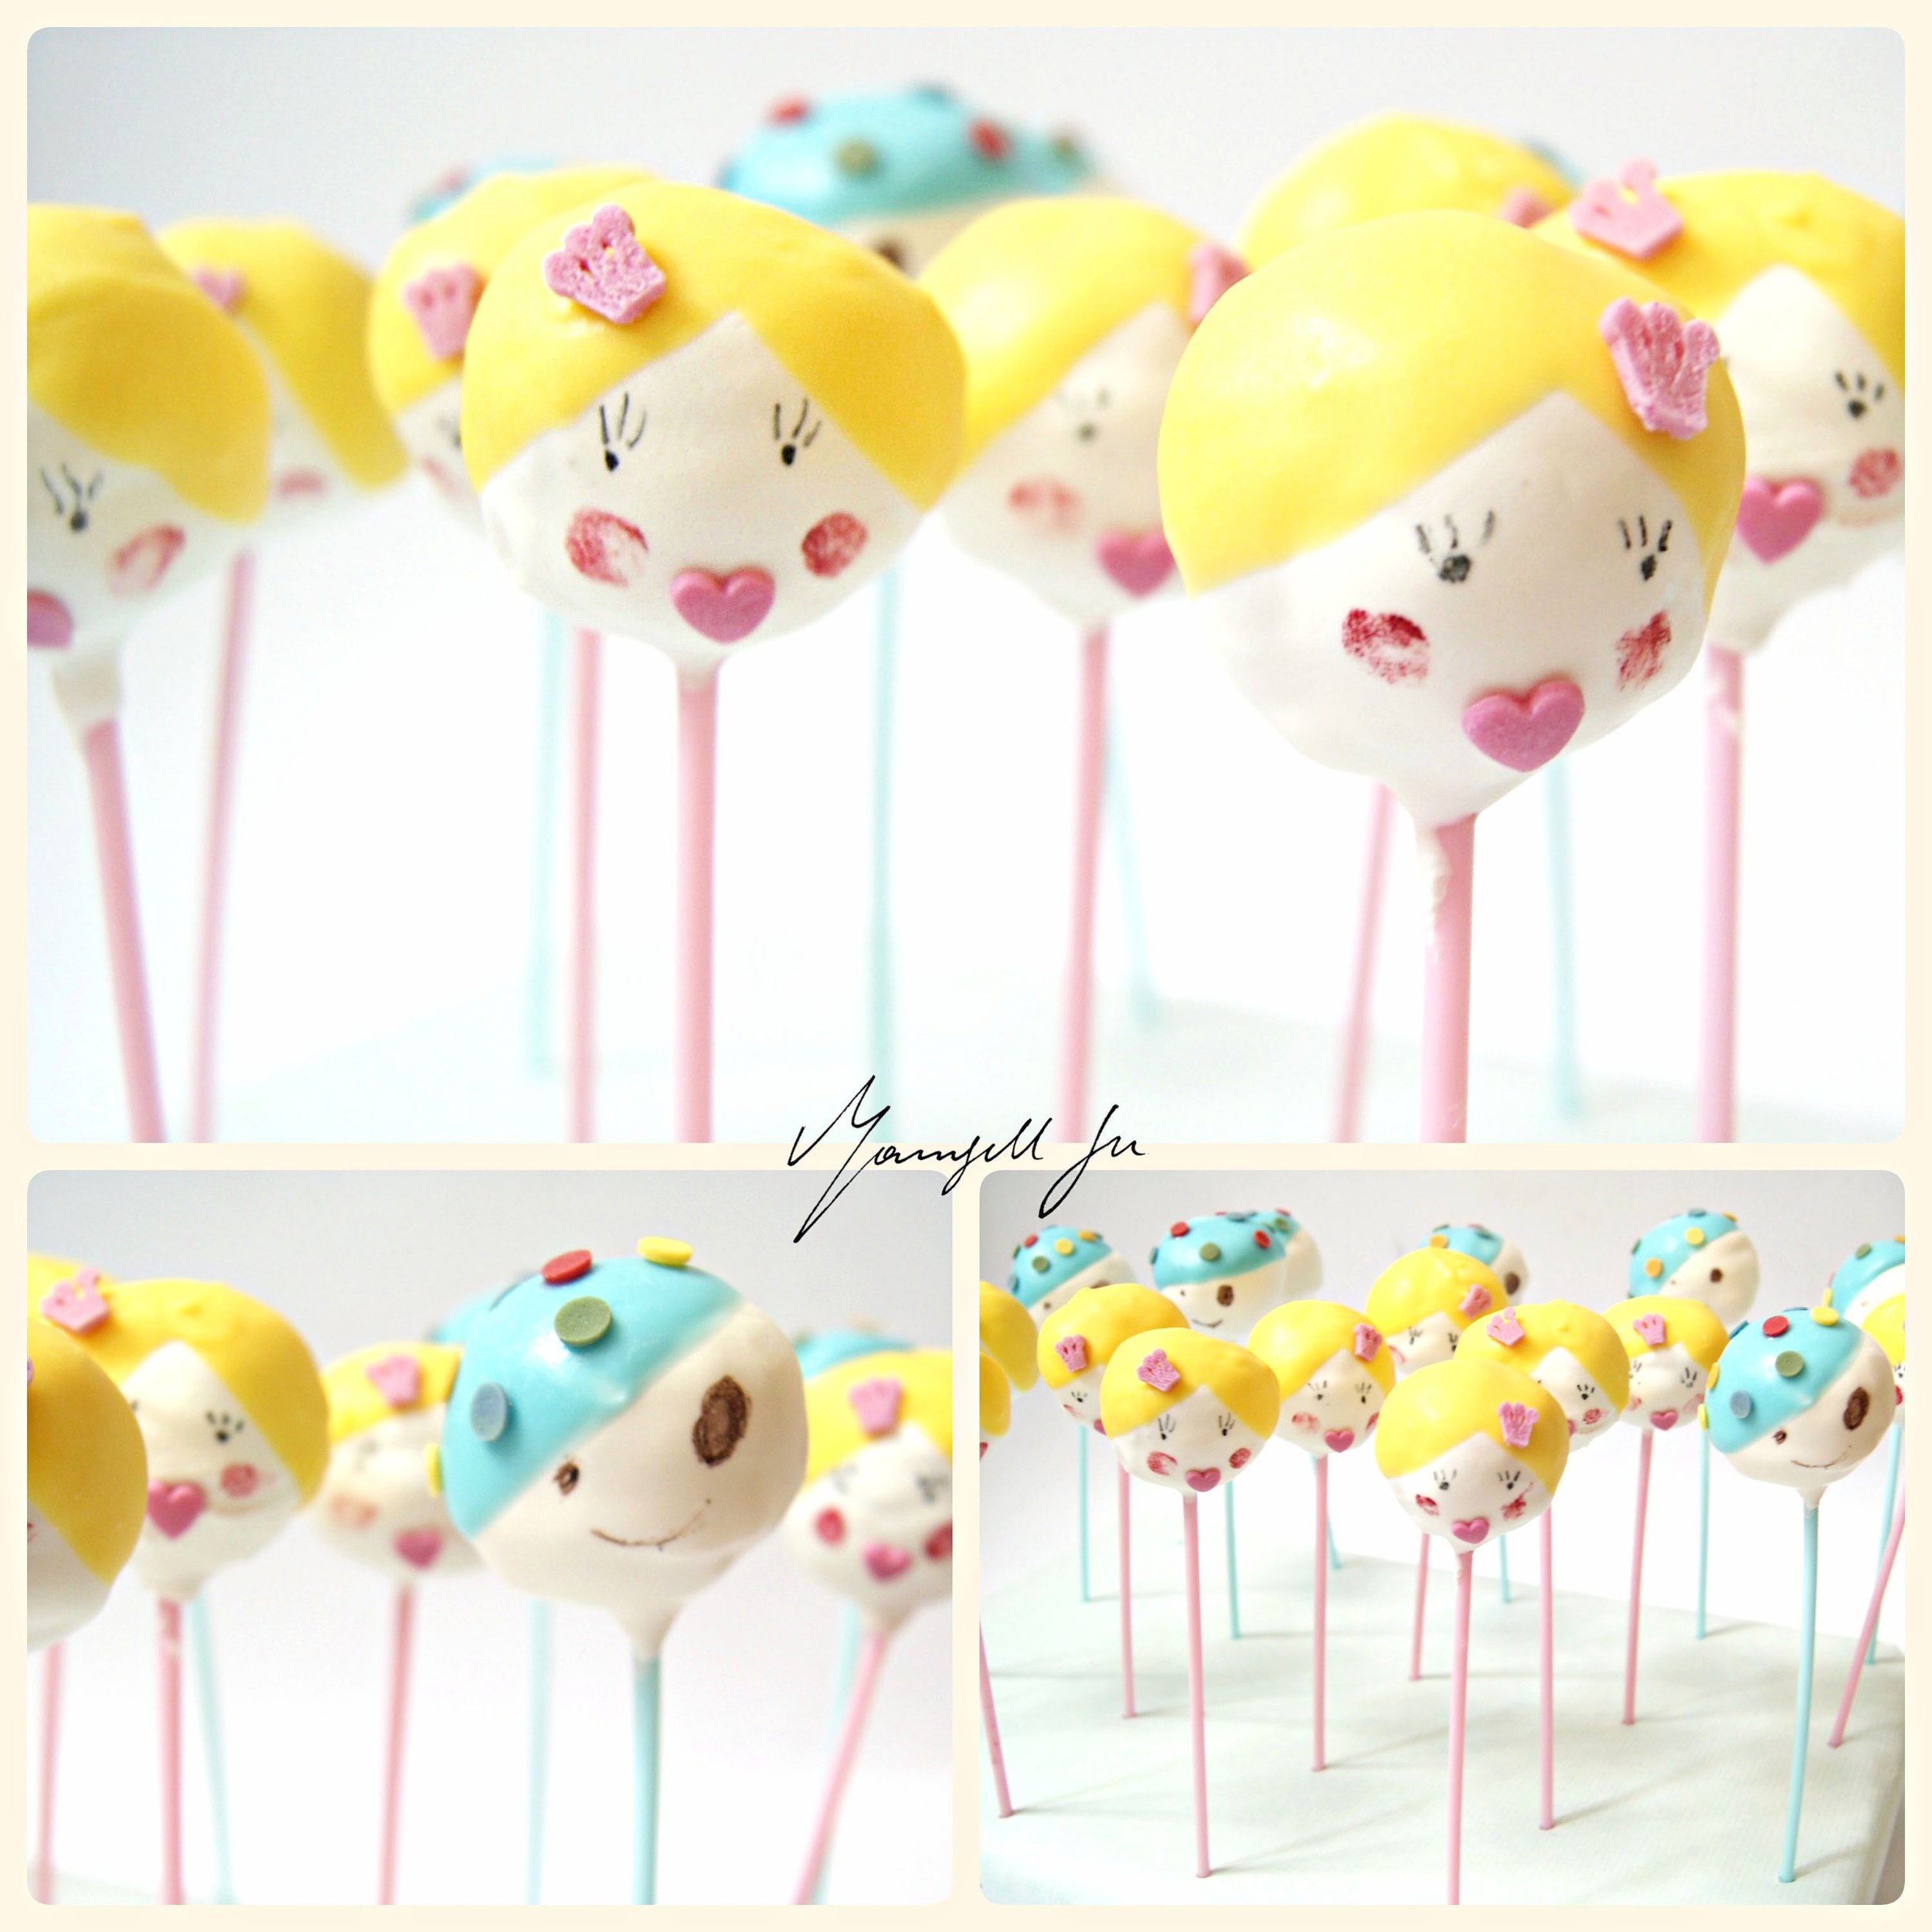
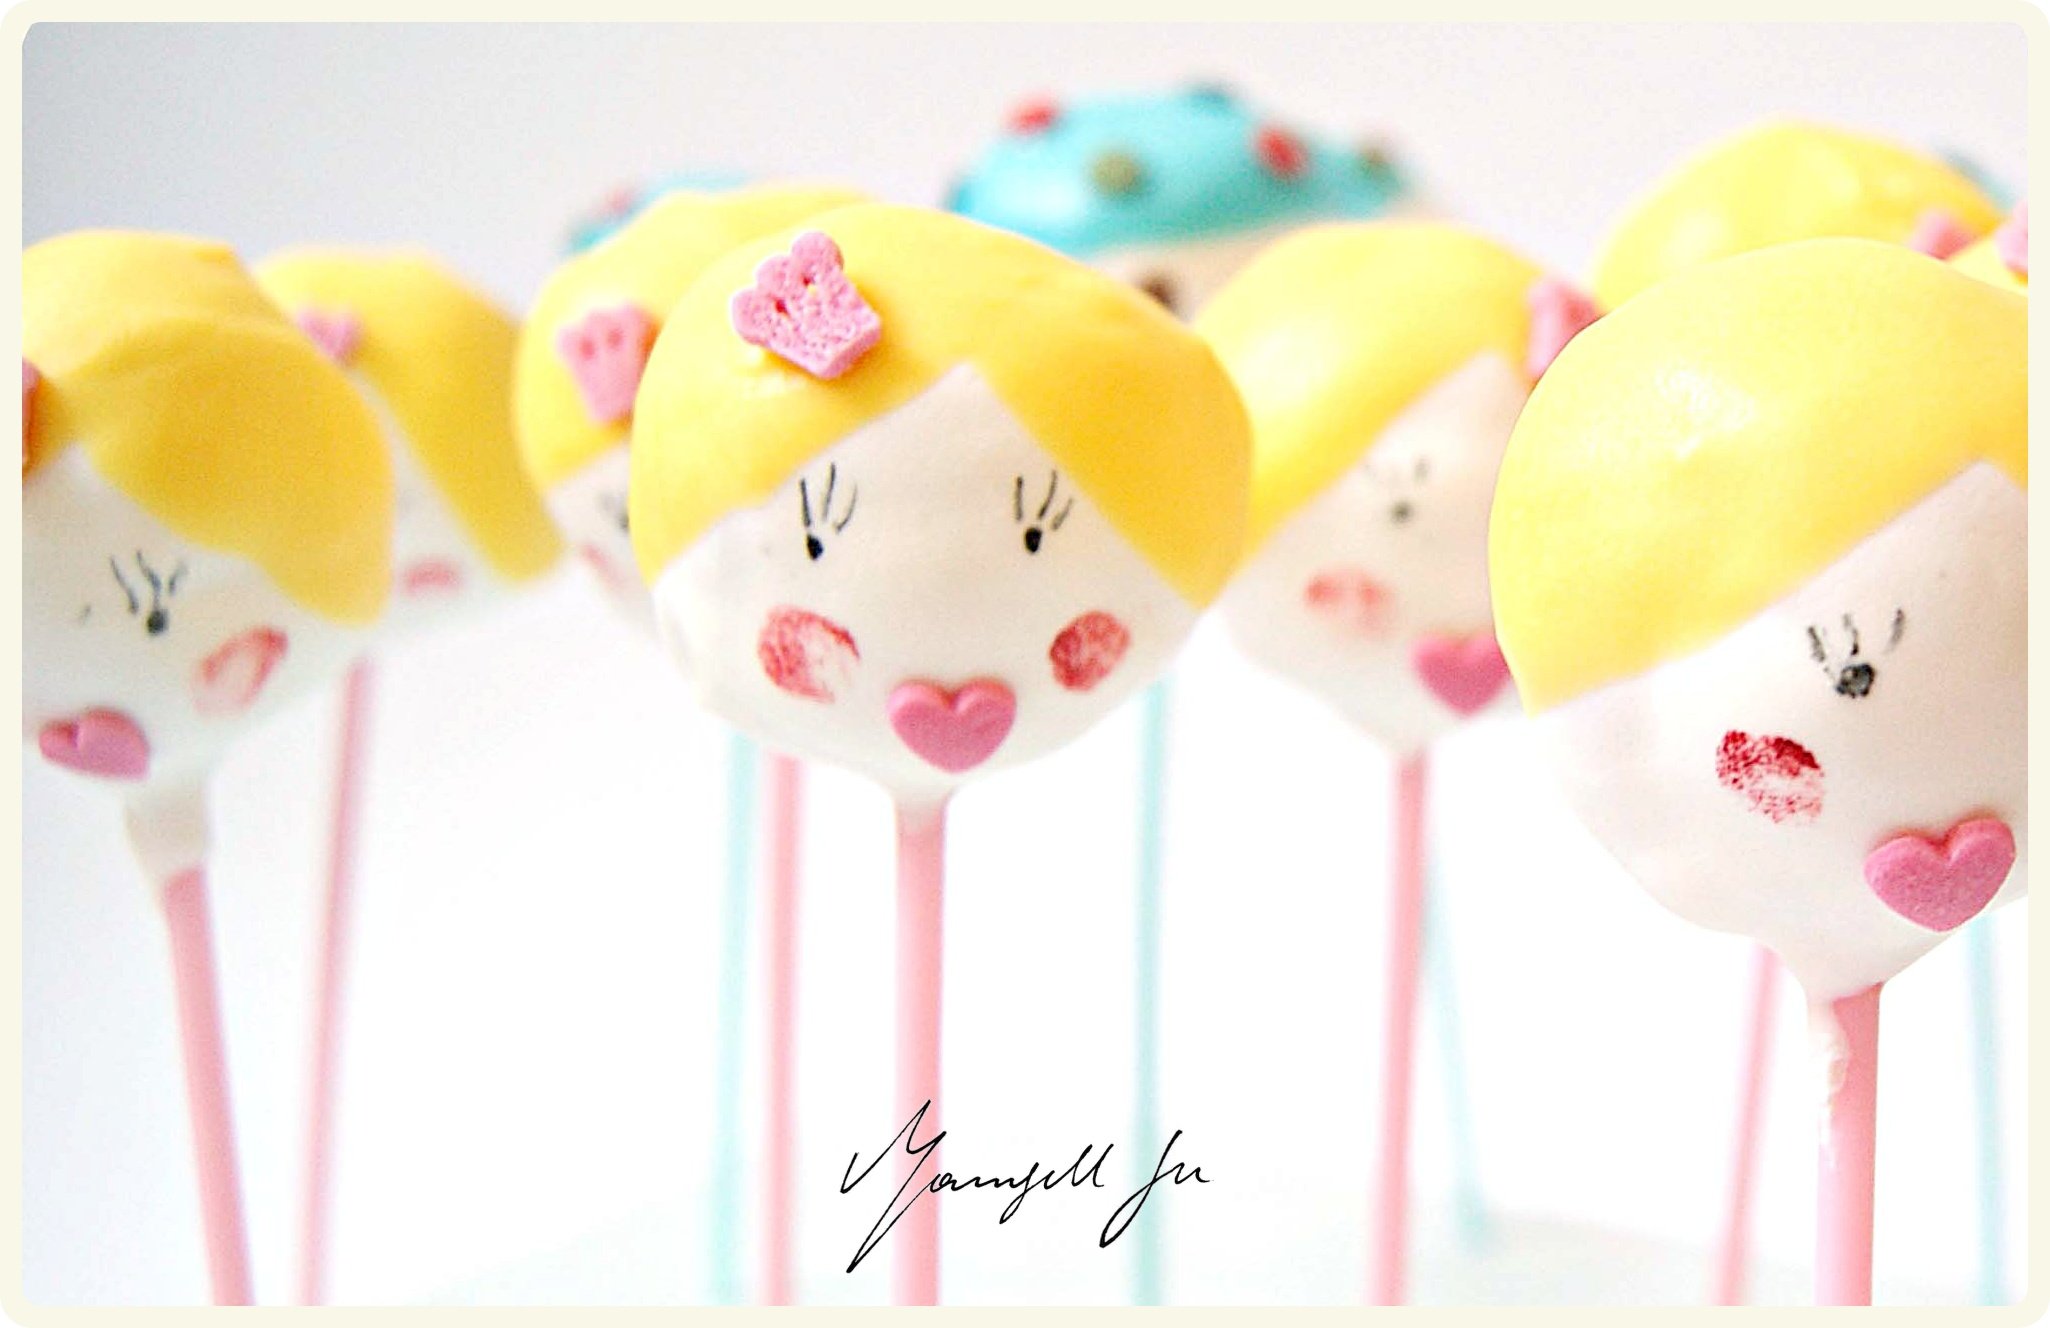
Princess Cake Pops:
Yellow candy melts for the princess hairstyle
Coconut fat
Some dark chocolate coating and a very thin brush for the eyes OR food pen in black
Sugar crowns
Sugar heart in pink or red for the mouth
A little red or pink food paste for the cheeks
Food glue (optional, you can also use a dab of melted candy melt to attach the crown and mouth)
The hairstyle: Melt yellow candy melts with the coconut oil. The cake pops covered with white candy melts should be completely dry. Dip one of the top corners of the cake pops diagonally into the melted yellow candy melts about 1-1.5 cm. Don’t dip too deeply, or there won’t be enough room for the face!
Drain thoroughly upside down and let it dry. Once it’s completely dry, dip the other upper corner in the same way and let it dry. The point where they meet should be approximately in the middle.
The eyes: One eye consists of a dot with three small lines above for the eyelashes. Melt a little dark chocolate and paint the eyes with a very thin brush. It’s also recommended to add a little coconut oil to make it easier to paint.
OR you can paint the eyes with food-grade crayons. The ones I had (from DEKO BACK) aren’t recommended, in my opinion. I was really frustrated with them, but I’m sure there are different qualities.
The crown and mouth: Glue the crown and mouth on with a dab of food glue or melted candy melts.
The cheeks: Dip your little finger in some food coloring and carefully wipe the color off on a paper towel until only a thin film remains, otherwise the cheeks will be too colorful. Lightly dab the color on with your finger. The princess is ready!

The Pirate Cake Pops:
Blue candy melts for the cloth
Coconut fat
Colorful sugar confetti also for the cloth
Some dark chocolate coating and a very thin brush for the eyes OR black food pencil for the face
Food glue (optional, you can also use a dab of melted candy melt to attach the confetti dots)
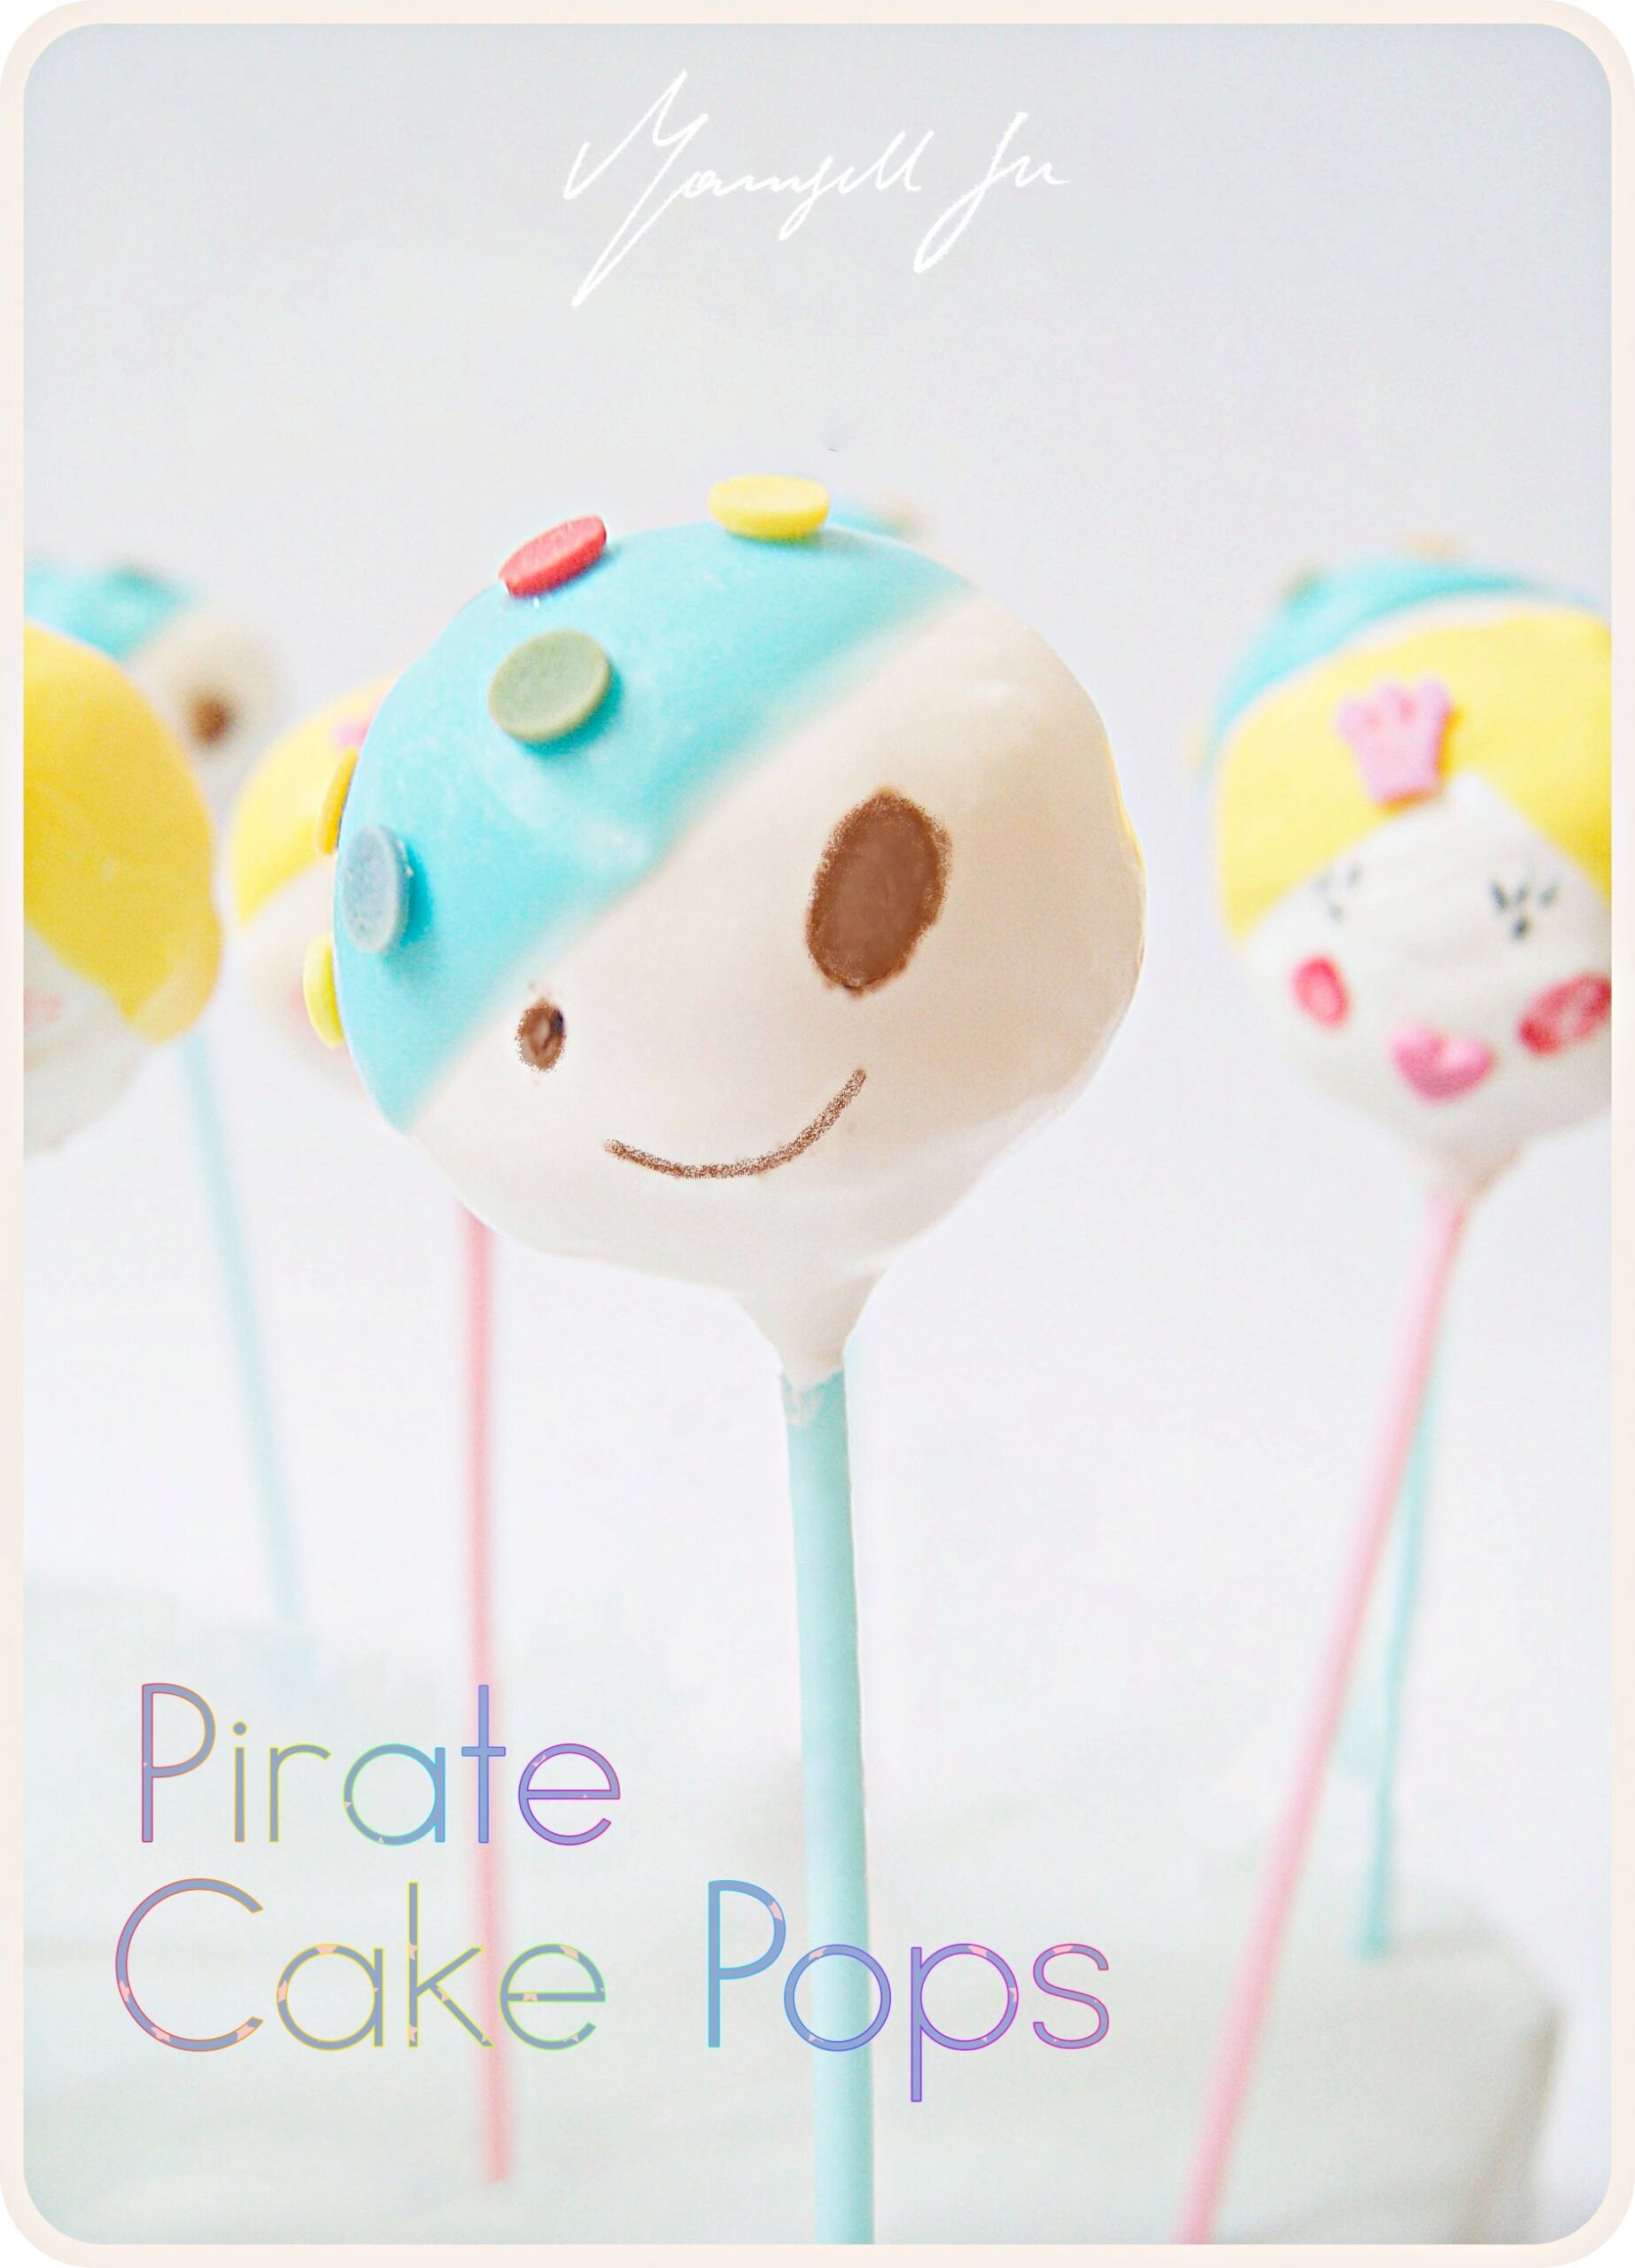
The cloth: Melt the blue candy melts with the coconut oil. The cake pops coated with white candy melts should be completely dry. Dip one of the top corners of the cake pops diagonally about 1-1.5 cm into the melted blue candy melts. Not too deep, otherwise there won’t be enough room for your face! Drain well upside down and let dry.
Attach the sugar confetti with a dab of food glue or melted candy melts and let it dry thoroughly.
Eyes and mouth: Melt a little dark chocolate and paint the eyes and mouth with a very thin brush. It’s also recommended to add a little coconut oil to make it easier to paint.
Paint one eye small, like a dot, and the other larger, as this represents the pirate’s eye patch. You can, of course, also paint the eye patch’s ribbon.
OR you can draw the face with food markers. It all depends on the quality of the marker.
Let everything dry and the pirates are ready!
For storage, I would put the cake pops in the fridge!

Making your own cake pops is easy and they look great in no time. Colorful candy melts and a little sugar decoration will do the trick, and they’ll make everyone happy.
So, next time you take a bite of the colorful ball, maybe you’ll remember my cake pop theory, then let me know what you think ❤️